If you’re one of the lucky folks with a Windows 11 computer, you might have heard of using a USB key to install or upgrade your system. A USB key is a small little thing, it sort of looks like a stick but it can hold a lot, a lot, a lot of information! It can be a godsend when you need to do stuff like install new software or upgrade your computer’s operating system.
Plug the USB key into any USB port on your computer. Then, launch the installation files for Windows 11 and you will be guided to make a bootable USB stick.
If your computer is already running Windows 10, and you’d like to upgrade to Windows 11, you can do it using a USB key. Here’s how to upgrade to Windows 11 using a USB key:
Put your bootable USB key in one of your USB slots on your computer and reboot. Boot from the USB Key, and follow the on screen instructions to upgrade your PC to Windows 11.
Less risk of error: If you create a Windows 11 installation or upgrade USB key, you’re less likely to encounter errors than if you went another route.
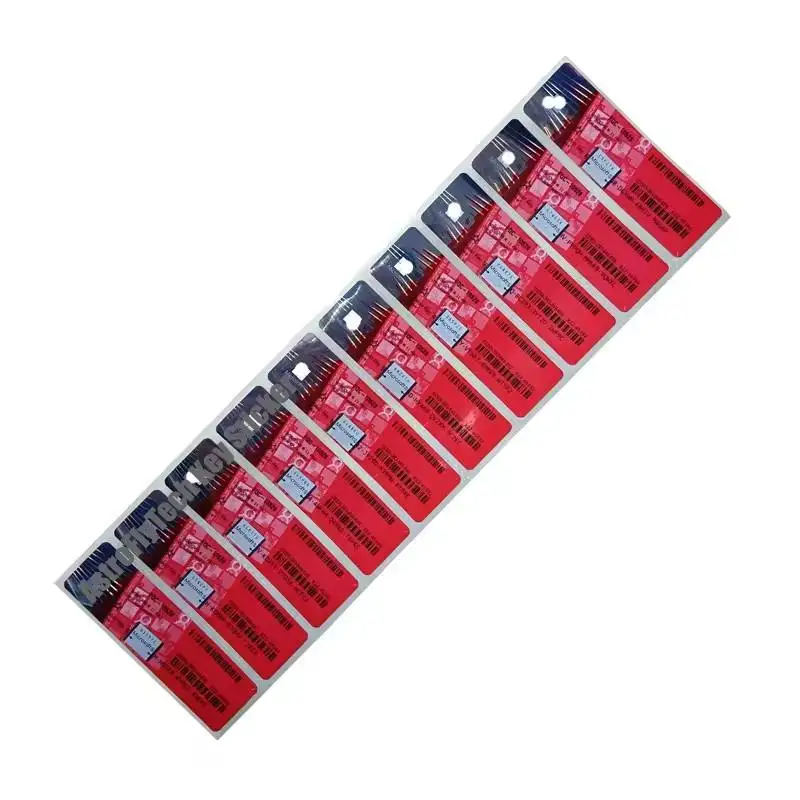
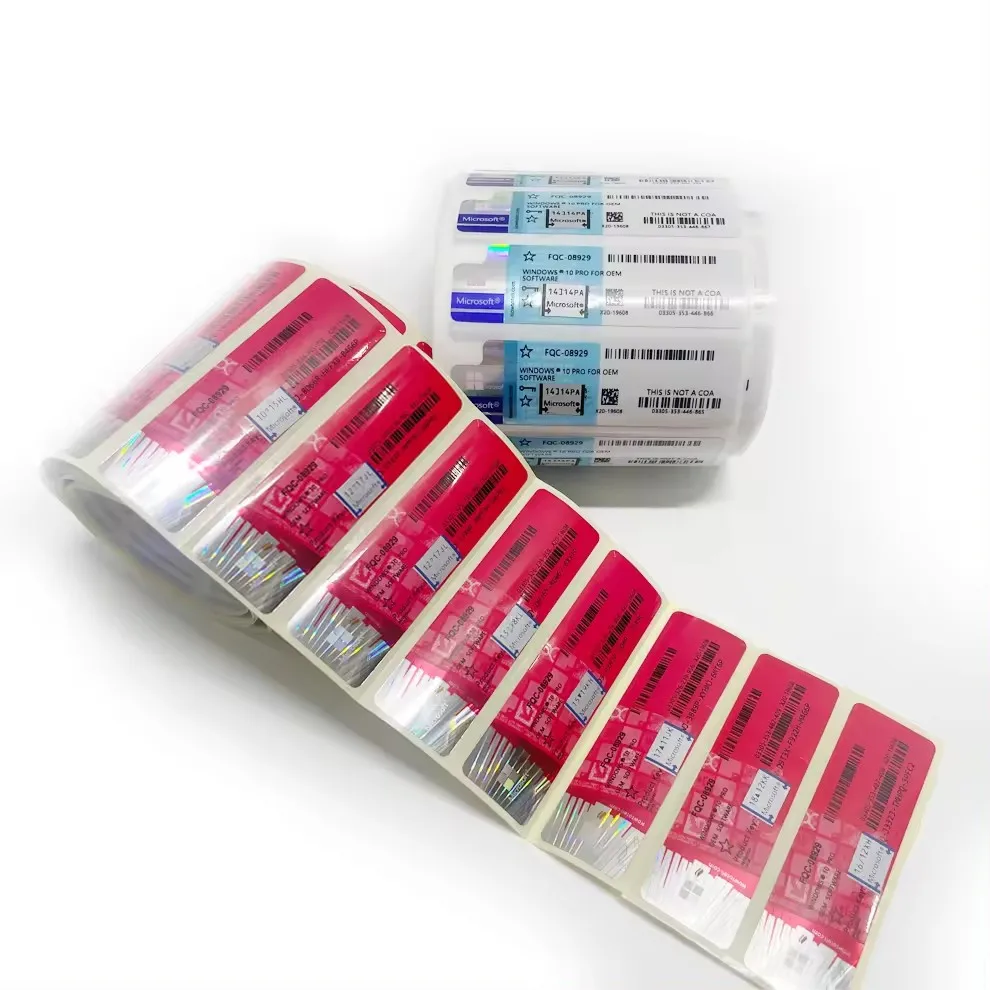
Corrupted files: In the case that the files to install Windows 11 on the USB stick are corrupted, you might receive errors during the installation or upgrade process.
Long install time: Depending on the speed of your USB key, and the speed of your computer, it may take a long time for the installation to complete, or stall for a long period at: ``Installing system.''
Shenzhen Hongli Information Technology Co., LTD., as a Microsoft Gold Partner, has a strong technical background and resource support. The company focuses on enterprise software legalization and can provide customers with Microsoft software system and cloud service solutions to ensure that enterprises obtain reliable technical guarantees and compliance support during the digital transformation process.
As a high-tech enterprise, Shenzhen Hongli attaches great importance to the combination of technology and market, and is committed to the innovation of mobile terminals, industry application terminals and Internet of Things system solutions. Through continuous technology research and development and market insights, the company provides customers with the most competitive product solutions to help companies maintain their leading position in the rapidly changing market.
Shenzhen Hongli Information Technology's products and solutions are widely used in life, office, education, logistics, automobiles, finance, business, smart homes and other industries. The company has a deep understanding of the unique needs of various industries and can provide customers with highly customized products and services to help customers improve efficiency and achieve business growth.
The company's business covers the research and development and production of embedded tools, consumer products (such as notebooks, all-in-one computers, MINI PC tablets), industry terminals (such as reinforced tablets, reinforced notebooks, commercial display terminals) and the Internet of Things (terminals, gateways, solutions). This diversified product line can meet the diverse needs of customers in different industries and provide one-stop technical solutions.